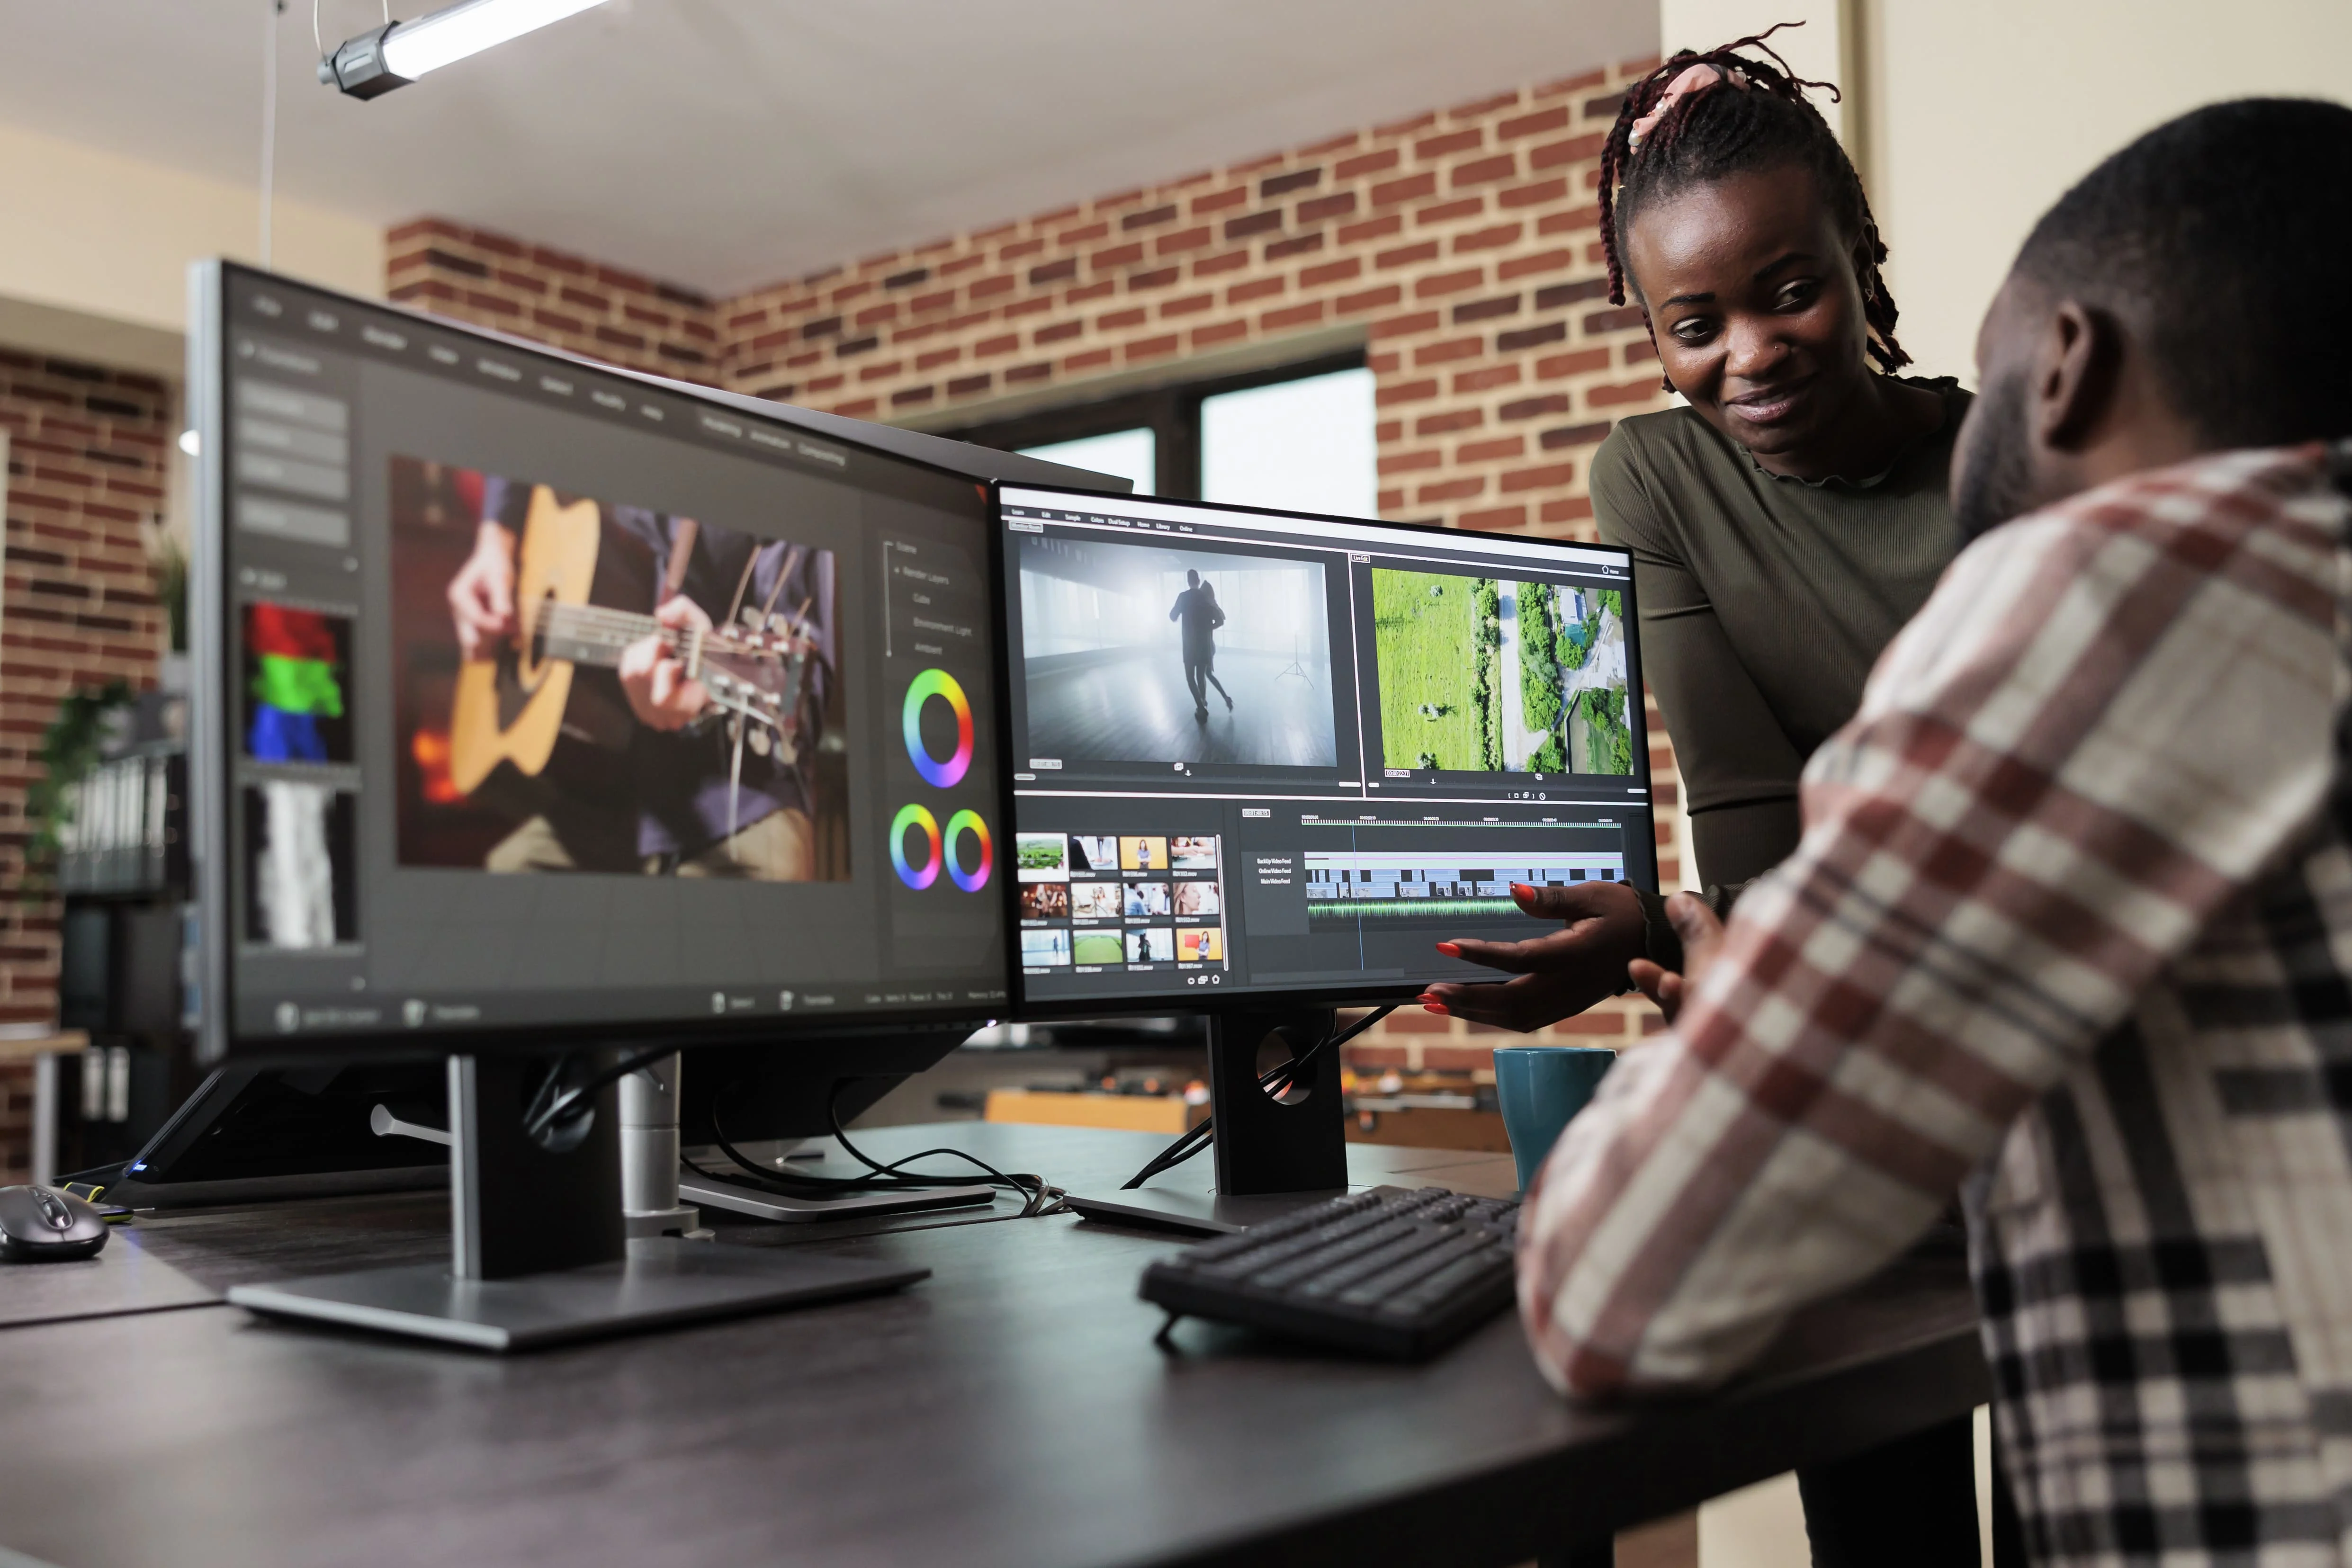
Multicam editing is a powerful resource in Adobe Premiere Pro that allows you to switch between multiple camera angles, creating dynamic and engaging video content.
Whether you're working on a live event, a music video, or a complex interview setup, mastering multicam editing can embellish your production quality. This guide provides a step-by-step approach, integrates insights on how to use ai for video editing, and includes troubleshooting tips to streamline your workflow.
Understanding Multicam Editing in Adobe Premiere Pro
Multicam editing involves synchronizing and switching between footage from multiple cameras. Adobe Premiere Pro offers robust tools to handle multicam footage efficiently, enabling you to switch angles in real-time and ensure a professional final product.
Why Use Multicam Editing?

- Enhanced Production Value: adds a professional touch to your videos by providing multiple perspectives, making the content more engaging.
- Efficiency: saves time by allowing you to edit all angles simultaneously and switch between them during playback. This efficiency can be further enhanced by using ai tools for youtubers.
- Flexibility: Offers greater flexibility in post-production, allowing for creative cuts and transitions between different camera views.
Step 1: Preparing Your Project
1. Import and Organize Footage
Begin by importing all your camera footage into Adobe Premiere Pro. Create a new project and organize your clips into bins based on camera or angle.
2. Synchronize Clips
Synchronizing your clips is the first step for seamless editing. Premiere Pro provides two main methods for synchronization:
- Automatic Sync: You can use Premiere Pro’s automatic synchronization if your clips have matching audio tracks. Select all your clips in the Project panel, right-click, and choose “Create Multi-Camera Source Sequence.” Select “Audio” as the synchronization method, and Premiere Pro will align your clips based on audio.
- Manual Sync: You need to sync clips manually for footage without matching audio. Select your clips, right-click, and choose “Create Multi-Camera Source Sequence.” Use “Timecode” or set manual sync points to align your footage.
3. Boost Efficiency with Gling
Gling.ai can significantly improve your workflow. By generating accurate transcripts from your footage’s audio, Gling helps you ensure precise synchronization and dialogue consistency across angles. Import these transcripts into Premiere Pro and reduce manual syncing time.
Step 2: Creating and Setting Up Your Multicam Sequence
1. Generate a Multi-Camera Source Sequence
Once your clips are synced, right-click on the synchronized sequence in your Project panel and select “Create Multi-Camera Source Sequence.” Choose your synchronization method and click OK. Premiere Pro will generate a new sequence with all your camera angles.
2. Set Up the Multicam View
Drag the multicam sequence into a new timeline to view and edit all angles simultaneously. Enable the Multi-Camera view by clicking the “Program Monitor” button. Open the Button Editor by selecting the “+” icon, then drag the “Multi-Camera” button to the Program Monitor. Click this button to enable the Multi-Camera view, allowing you to see and edit all camera angles in real-time.
Step 3: Editing Your Multicam Sequence
1. Switch Between Camera Angles
With the Multi-Camera view active, play back your sequence and click on the camera angle you want to switch to. Premiere Pro will cut to the selected angle in real-time. This is particularly useful for live events or scenes with rapid camera changes.
2. Refine Your Cuts
After your initial multicam edits, fine-tune them in the standard timeline. Deactivate the Multi-Camera view to return to the regular timeline. Use the “Cut” tool to adjust or add cuts between angles.
3. Apply Effects and Transitions
Add some sauce to your multicam sequence with effects and transitions. Premiere Pro offers a range of impact to smooth out cuts and improve visual appeal. Drag transitions from the Effects panel onto the cut between clips.
4. Utilize Gling for Consistency
Gling’s transcription tool helps ensure that dialogue and audio transitions are synced accurately. Review and use Gling-generated transcripts to maintain consistency across different camera angles, making your editing process more efficient.
Step 4: Fine-Tuning Your Edit
1. Color Correction
Use the Lumetri Color panel for color correction to ensure a solid, cohesive look. Adjust the colors to match across all camera angles, and copy color settings between clips for visual consistency.
2. Audio Balancing
Proper audio balancing is essential for a clean finish. Use the Audio Mixer panel to adjust levels and apply effects. Ensure audio from different angles is clear and well-balanced. Use audio transitions to smooth out any abrupt changes. Use audio transitions to smooth out any abrupt changes. You can also remove noise from video for cleaner audio.
3. Conduct a Final Review
Perform a thorough review of your multicam sequence. Check both video and audio for smoothness and clarity. Preview your sequence in full-screen mode to ensure it meets your quality standards before exporting.
Step 5: Exporting Your Final Project
Choose Export Settings
When you’re ready to export, go to “File” > “Export” > “Media” to open the Export Settings dialog box. Select your desired format (e.g., H.264 for web or QuickTime for high-quality output) and adjust settings based on your project requirements.
Ensure Quality
Double-check your export settings to ensure optimal quality. Set the appropriate resolution, frame rate, and bit rate. Click “Export” to render and save your final video.
Troubleshooting Common Multicam Issues
1. Sync Issues
If clips aren’t syncing correctly, verify the synchronization method and check the timing in the timeline. Adjust start and end times as necessary. For manual sync, ensure sync points are accurately set.
2. Missing Camera Angles
If some angles are missing from the Multi-Camera view, ensure that all clips are included in the multicam source sequence. Check settings to verify that all angles are correctly mapped.
3. Performance Issues
If Premiere Pro struggles with your Multicam footage, lower playback resolution is needed, and proxies are used to improve performance. You might also want to remove silences in premiere to reduce file sizes and improve playback.
Conclusion
Using multicam editing in Adobe Premiere Pro allows you to produce high-quality, engaging videos with multiple camera angles. Following the steps outlined in this guide and incorporating tools like Gling for enhanced transcription and syncing, you can streamline your editing workflow and deliver professional results.
Embrace the power of multicam editing and Gling to improve your creative capabilities and put super cool content out there.